
All plans
Setting up your store
Fill in your store identity, logo, and receipt format before you start selling.
Available on Starter, Growth, Enterprise
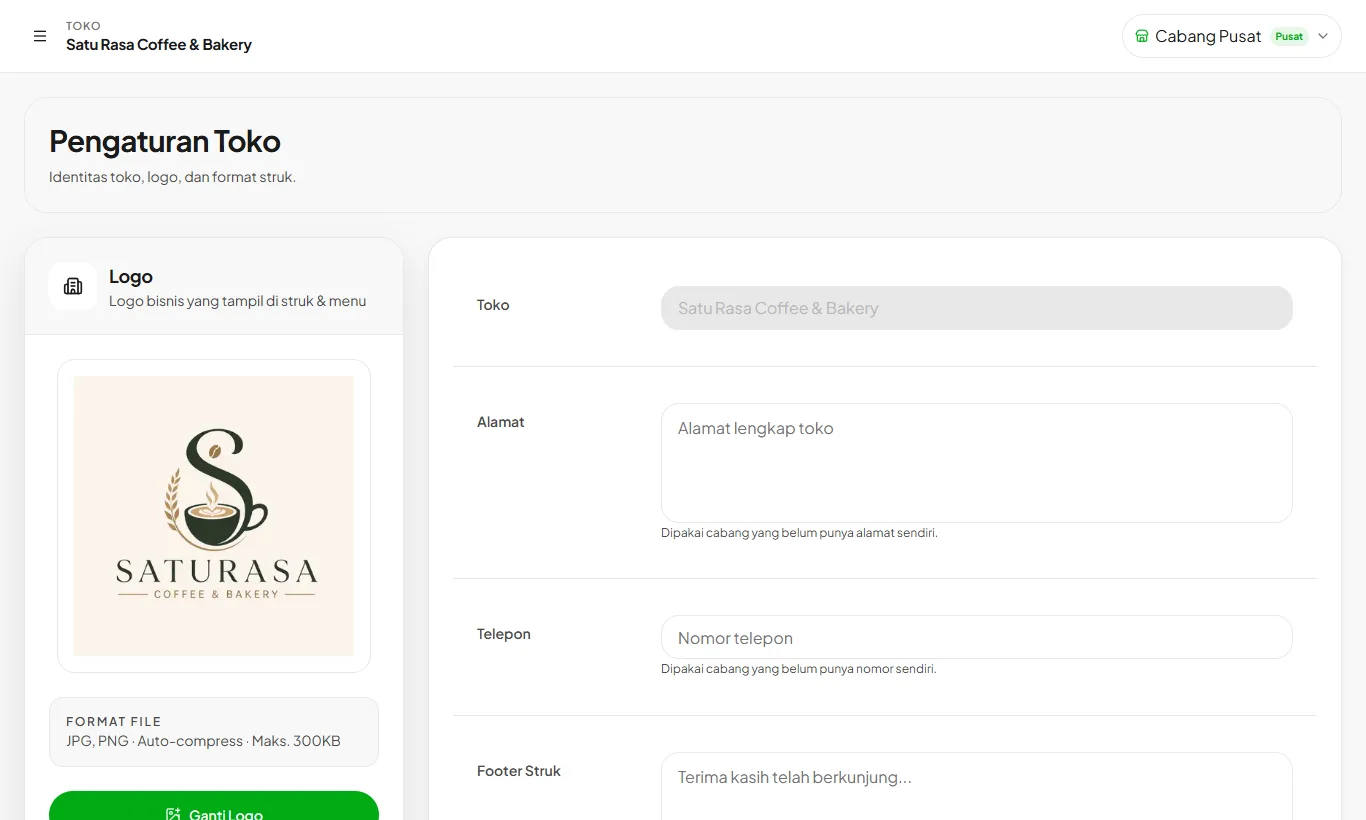
- 1
Open Store Settings
From Settings, choose Store. Fill in the store name, address, phone number, and time zone. The time zone drives shift schedules and daily reports.
- 2
Upload your logo
The logo appears on receipts, the QR Menu, and the customer display. JPG or PNG, resized automatically.
- 3
Configure the cashier and receipt
In POS Settings, turn on tax, service charge, or packaging fees if you use them. This is also where the receipt logo switch, order checker, and printer live.
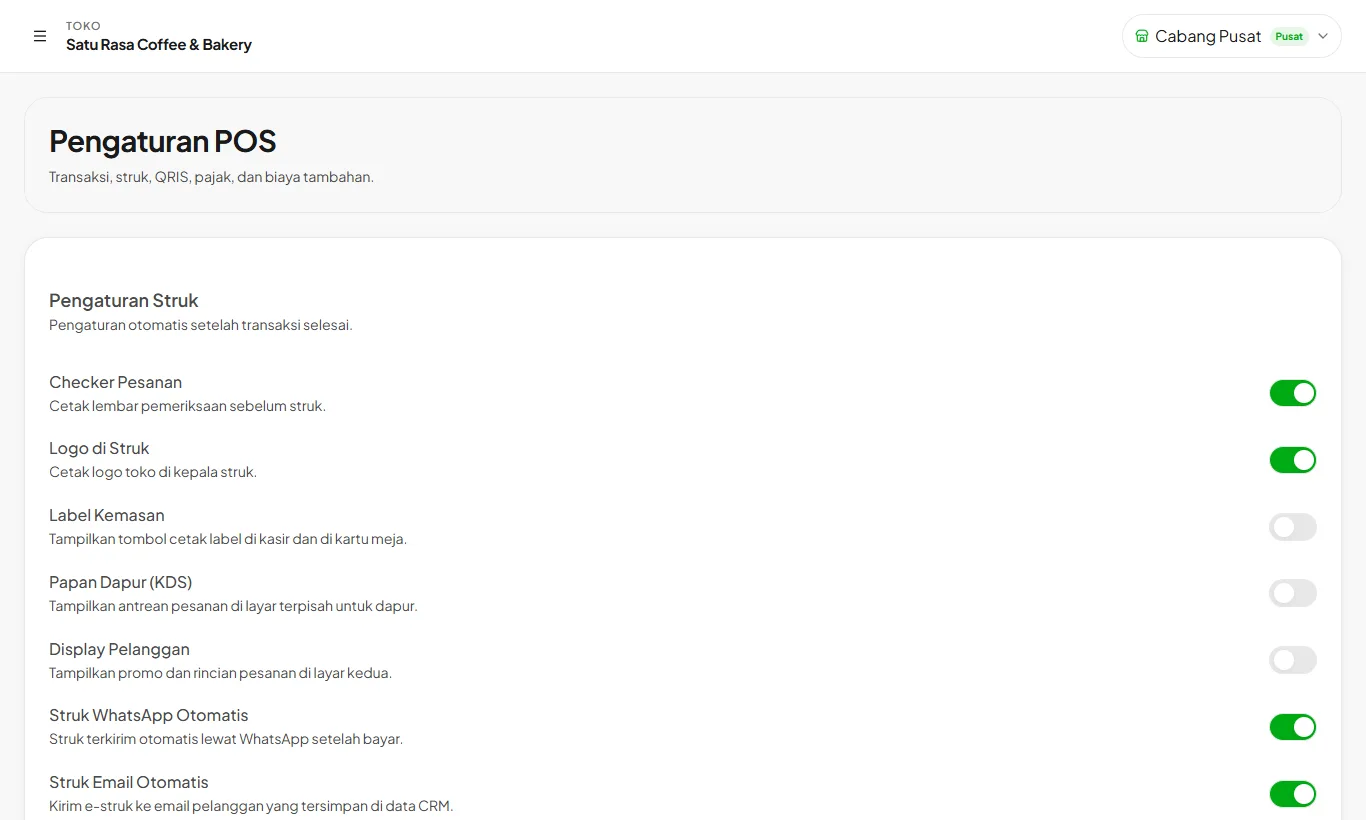
The receipt footer is a good spot for a thank-you note, your Instagram handle, or the Wi-Fi password.
Ready to try it in your store?
Sign up free and follow this guide right in the app.